It’s time for another installment in our series on loading code in Rails.
We have already discussed:
- Part 1 - Loading Files In Ruby
- Part 2 - Loading Files in Rails (using Ruby’s in-built mechansims and the Autoloader)
But so far, we’ve not talked about gems. “Gem” is the Ruby community’s name for libraries - essentially other people’s code.
Using other people’s code instead of writing your own saves a lot of time, so it’s an important part of the story.
A trip back in time
Back in the 90s, Ruby was a cool programming language. Probably it’s what Thomas Anderson was using before he got kicked out of the Matrix.
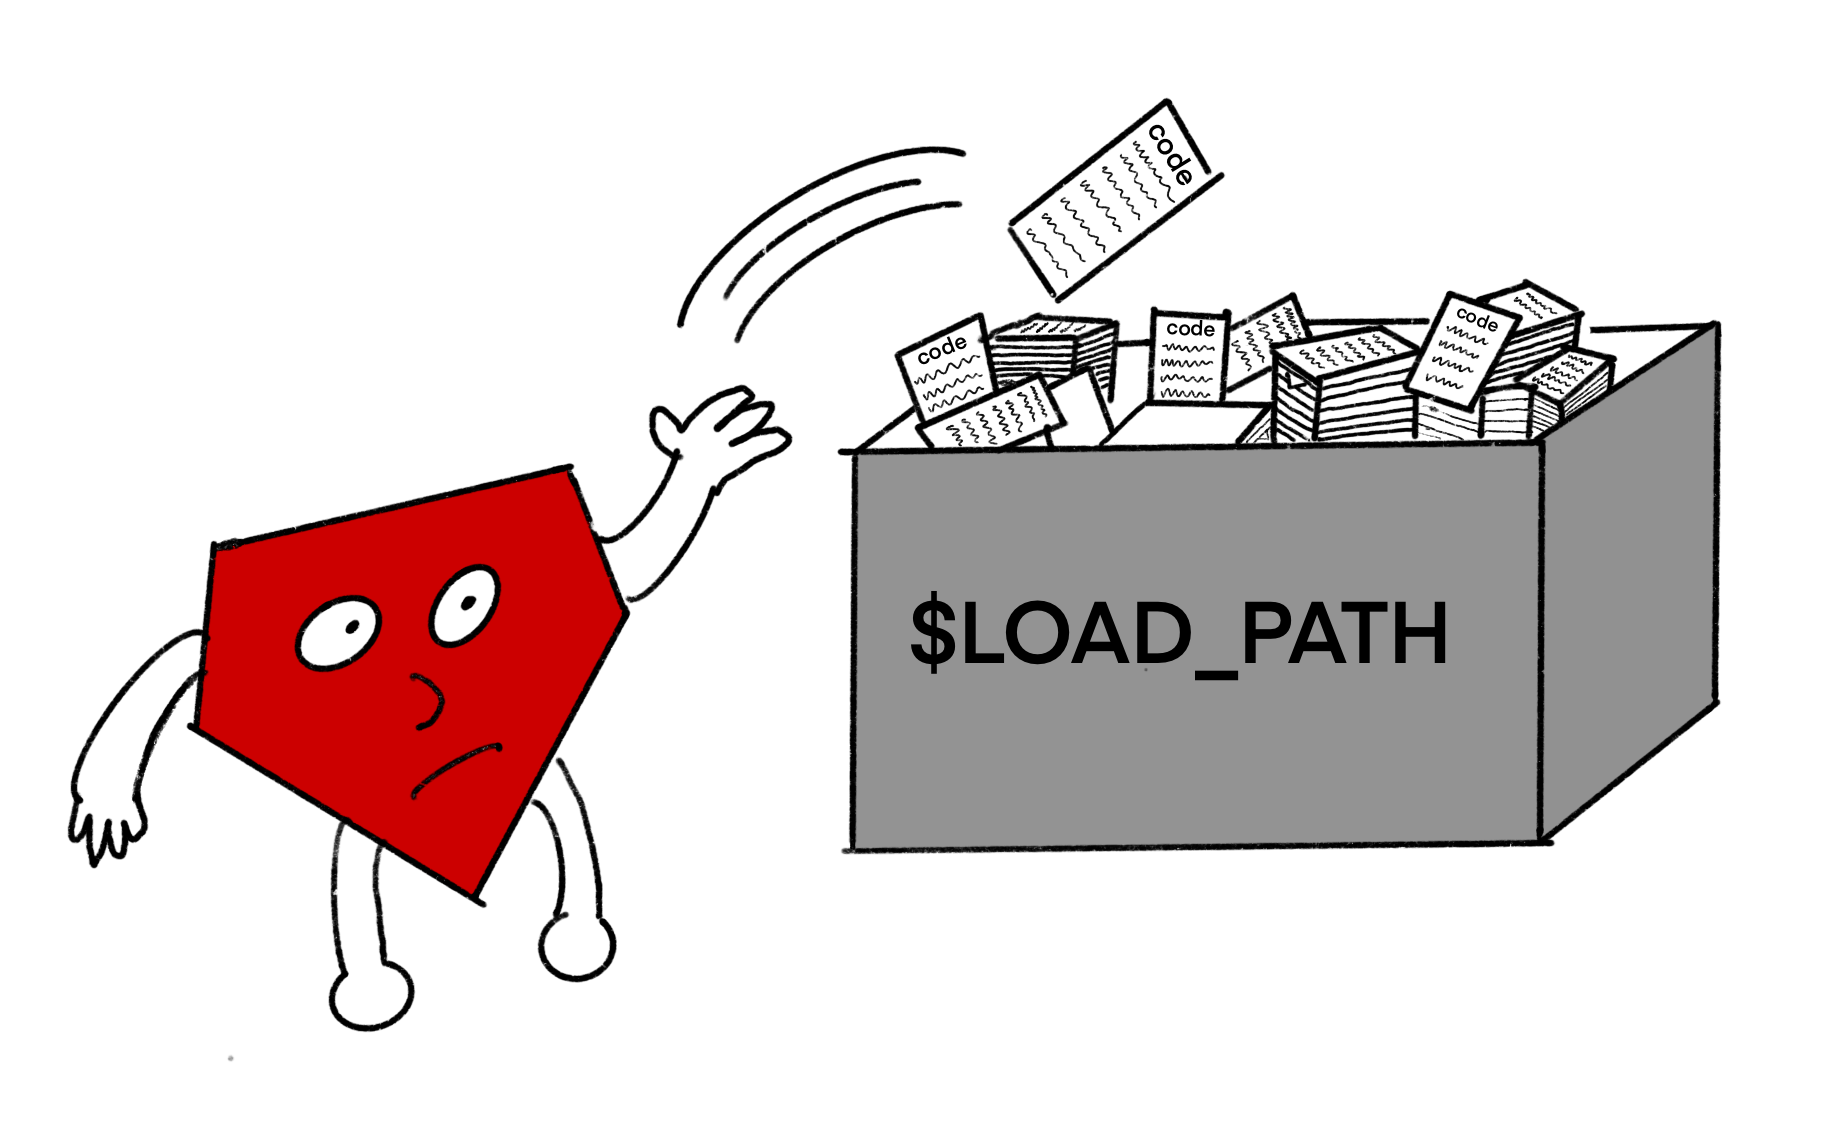
Unfortunately, it was super janky to share Ruby code with other people. You could download code from other people’s websites. Then you chucked the code into a folder in the $LOAD_PATH[^setup-rb]. By default, most Ruby libraries were put into a single global folder called /site_ruby[^vendoring].

So, let’s say you needed a libary called calculator. You’d add this code to your project:
require "calculator"
Ruby goes hunting through all the directories in the $LOAD_PATH array to find a file named calculator.rb.
You’ve already downloaded calculator.rb, and put it in /site_ruby (and you’ve added /site_ruby to the $LOAD_PATH) - so you’re good to go 👍.
More versions, more problems
But now what if your colleague tells you about a new version of calculator that has just comes out? (It has a new “mutiply” feature that you’re excited about.)
So, now you have to:
- go to the
calculator.rbwebsite - download the latest version of the code (hoping it’s the right one, there’s no standard way to check)
- delete all the files from the old
calculator.rb(sorry, there’s no uninstall) - copy the new code into
site_rubywhere you keep all your libraries
If you did all these steps, you were probably fine. But it was pretty tedious and manual. It was up to you to manage your $LOAD_PATH to ensure that there were no conflicts[^also-catastrophes].
RubyGems to the Rescue
So in 2003, RubyGems was released.

RubyGems makes things a lot easier:
- it hosts your code for you (at rubygems.org) 🥳
- it downloads the code and installs the code for you with a single terminal command 👍
- it lets you download specific versions each library 🥇
- it lets you specify which version of the library each piece of Ruby code needs 🎉
- it uninstalls each gem for you 😄
This is great. It removes a lot of the tedium. Instead of all the downloading and uninstalling, we can now just run
$: gem install calculator
and the code (and all its dependencies) get magically installed onto your machine for you to use.
Now if you want to use this gem, you can just add:
require "calculator"
Through a clever hack[^the-clever-hack], Ruby will pass over control to RubyGems and ask it to add a folder containing this gem to the $LOAD_PATH. Magic. ✨
Can we be more specific?
By default, RubyGems will download and use the latest version of a gem. If you want to download or use a specific version though, RubyGems lets you do that too.
To install a specific version:
$: gem install calculator -v 1.0
Then put this in your Ruby code to use that version:
gem 'calculator', '1.0'
By using the gem method in your Ruby code, you are “activating” the gem. This means that RubyGems is adding the folder containing the gem to the $LOAD_PATH. Then when Ruby requires the gem, it will find the right gem code.
You can even specify that you want a gem version that falls between two versions, and Ruby wil look within all your versions of that gem and return one that satisfies these constraints.
gem "calculator", ">= 1.1", "< 2"
Or you can use the pessimistic operator[^pessimistic-operator] ~> to allow upgrades but avoid breaking changes.
gem "calculator", "~> 1.1"
Rubygems will look for versions that satisfy these constraints among the versions that you have installed on your machine. So, if you start on a new project that specifies a version of calculator ~> 1.1, and you have v1.5 of calculator on your machine already, RubyGems will activate that version.
Putting it into practice
This was great for people who regularly ran more than one Ruby project on their computer. Now you could easily use v1.0 of a gem in one project and v2.0 in another.
Rails developed a syntax (which used RubyGems gem method under the hood) for specifying the gems that each project needed.
Rails::Initializer.run do |config|
  config.gem "nokogiri", :version => "1.4.2"
  config.gem "paperclip", :version => "2.3.3"
end
Often people used a rake gem:install command to install all of these gems with a single command.
However…
While RubyGems was pretty great, a pretty major problem still lurked. Solving this problem would require the final piece in our Ruby dependency management story.
Read the final part of our series here - Part 4 - Unpacking Bundler